A black background can make your subject stand out, giving it a clean, professional, or artistic look. In this article, I’ll explore some easy ways to add black background to photo, both online and offline.
MiniTool MovieMakerClick to Download100%Clean & Safe
How to Add Black Background to Photo Online Free
Online tools are convenient and easy to use, making them ideal for quick photo edits. With just a few clicks, you can remove your current background and replace it with a sleek black one. Here are two popular online tools that will help you achieve this effortlessly.
Picsart
Picsart is a powerful online photo editing tool that allows you to make quick edits, including background changes. It has a simple interface, and you can easily add a black background with the following steps:
Clik here to view.
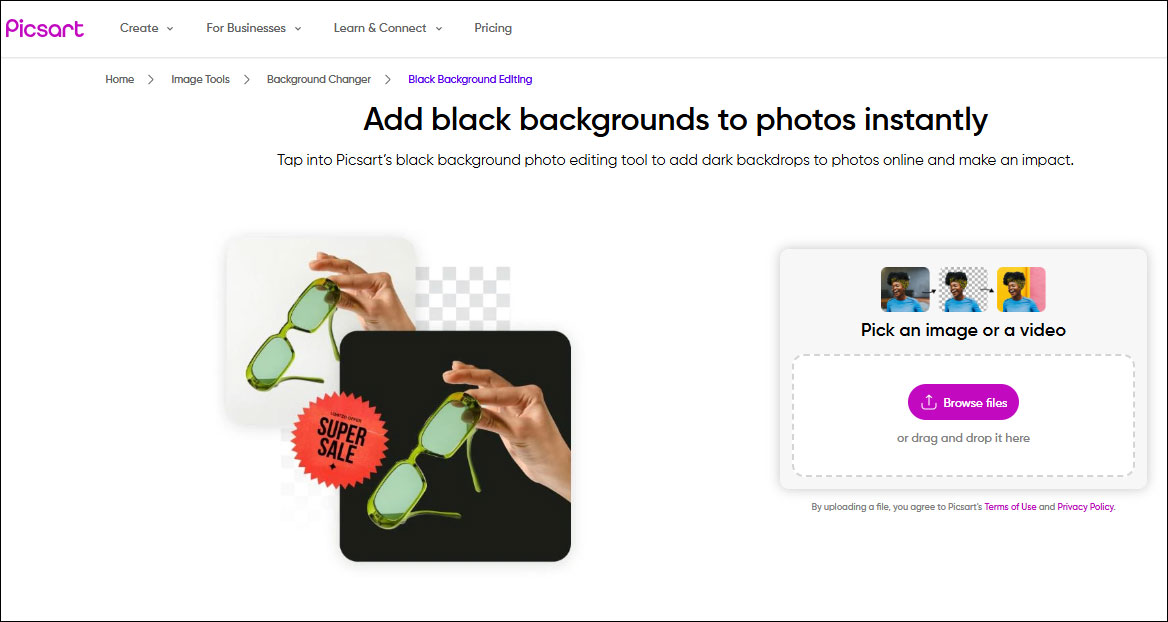
Step 1: Start by opening your web browser and going to the Picsart Black Background Editing page.
Step 2: Once on the site, click on the Browse files button. Choose the photo you want to edit from your computer or device.
Step 3: After uploading the photo, the tool will detect and remove the existing background of your image. Then, you can click on the black option to apply it as your background.
Step 4: When you’re satisfied with the changes, click on Download to save the image to your computer.
Photoroom
Photoroom is another fantastic online tool for editing photos and changing backgrounds. It’s particularly designed for quick, professional-looking results. Here’s how to add black background to photo using Photoroom:
Clik here to view.
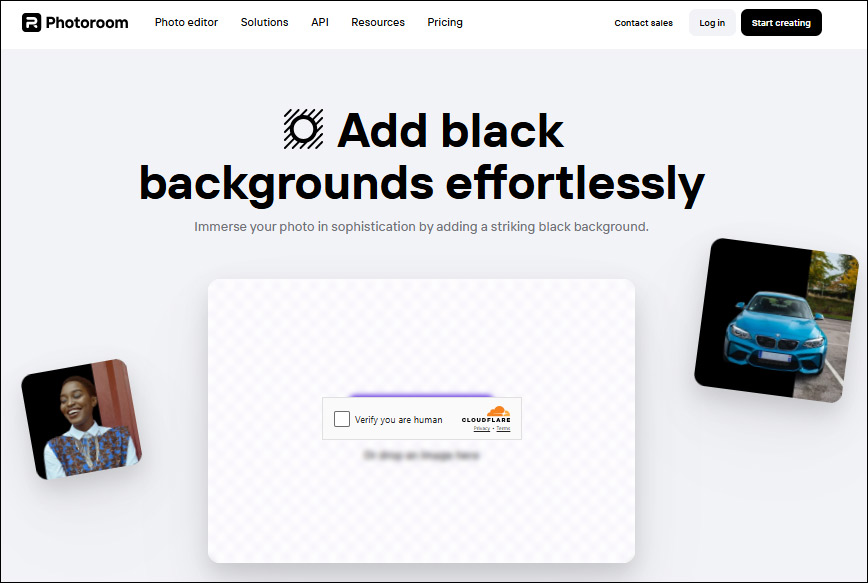
Step 1: Open your browser and open the Photoroom Black Background Tool.
Step 2: Click Start from a photo to select and upload the image you want to edit.
Step 3: After importing the photo, Photoroom will automatically remove the background of your photo and make background black.
Step 4: After the background has been replaced, simply click Download to save your photo with the new black background.
How to Add Black Background to Photo Offline
If you prefer working offline or need more control over your photo edits, offline tools like Photoshop provide advanced features.
Photoshop
Photoshop is one of the most popular photo editing software programs, known for its powerful features. If you’re comfortable with its interface, Photoshop is the perfect tool for making detailed edits. Here’s how to add black background to photo in Photoshop:
Step 1: Launch Photoshop and go to File > Open to import the image you want to edit.
Step 2: Go to the Layers panel, right-click on the background layer, and choose the Duplicate Layer option.
Step 3: Select the copied layer, click the Select tool at the top, and choose Subject in the dropdown menu. You’ll see the subject of the image that is selected. You can zoom in and fine-tune the selection to make sure the edges are clean.
Clik here to view.

Step 4: After finishing the adjustments, click Select again and choose the Inverse option in the given options.
Step 5: Go to the Layers panel, click the Create new fill or adjustment layer icon and choose Solid Color. Then, you can pick the black color to make black background.
Step 6: Once you’re happy with your work, go to File > Export > Export As to save the image in the desired format (JPG, PNG, etc.).
Bottom Line
In conclusion, adding black background to photo can give it more professional look. Whether you’re looking to achieve a sleek look or just want to highlight specific elements of your image, the process is relatively simple using these photo editing tools. By learning how to add black background to photo, you can transform an ordinary shot into something more polished.
The post A Complete Guide: How to Add Black Background to Photo appeared first on MiniTool MovieMaker.